
Mobile Deposit App Overview Tour
Get a quick overview of everything the Mobile Deposit App has to offer.
Mobile Deposit App
The Mobile Deposit App allows clients to deposit checks to their business accounts using their mobile device.
Download the App
On iPhone device: Go to the Apple App Store and search for KeyNavigator©. On Android device: Go to the Google Play Store and search for KeyNavigator. Download the app to your device. The app icon is white with a red key and red compass symbol and titled KeyNavigator.
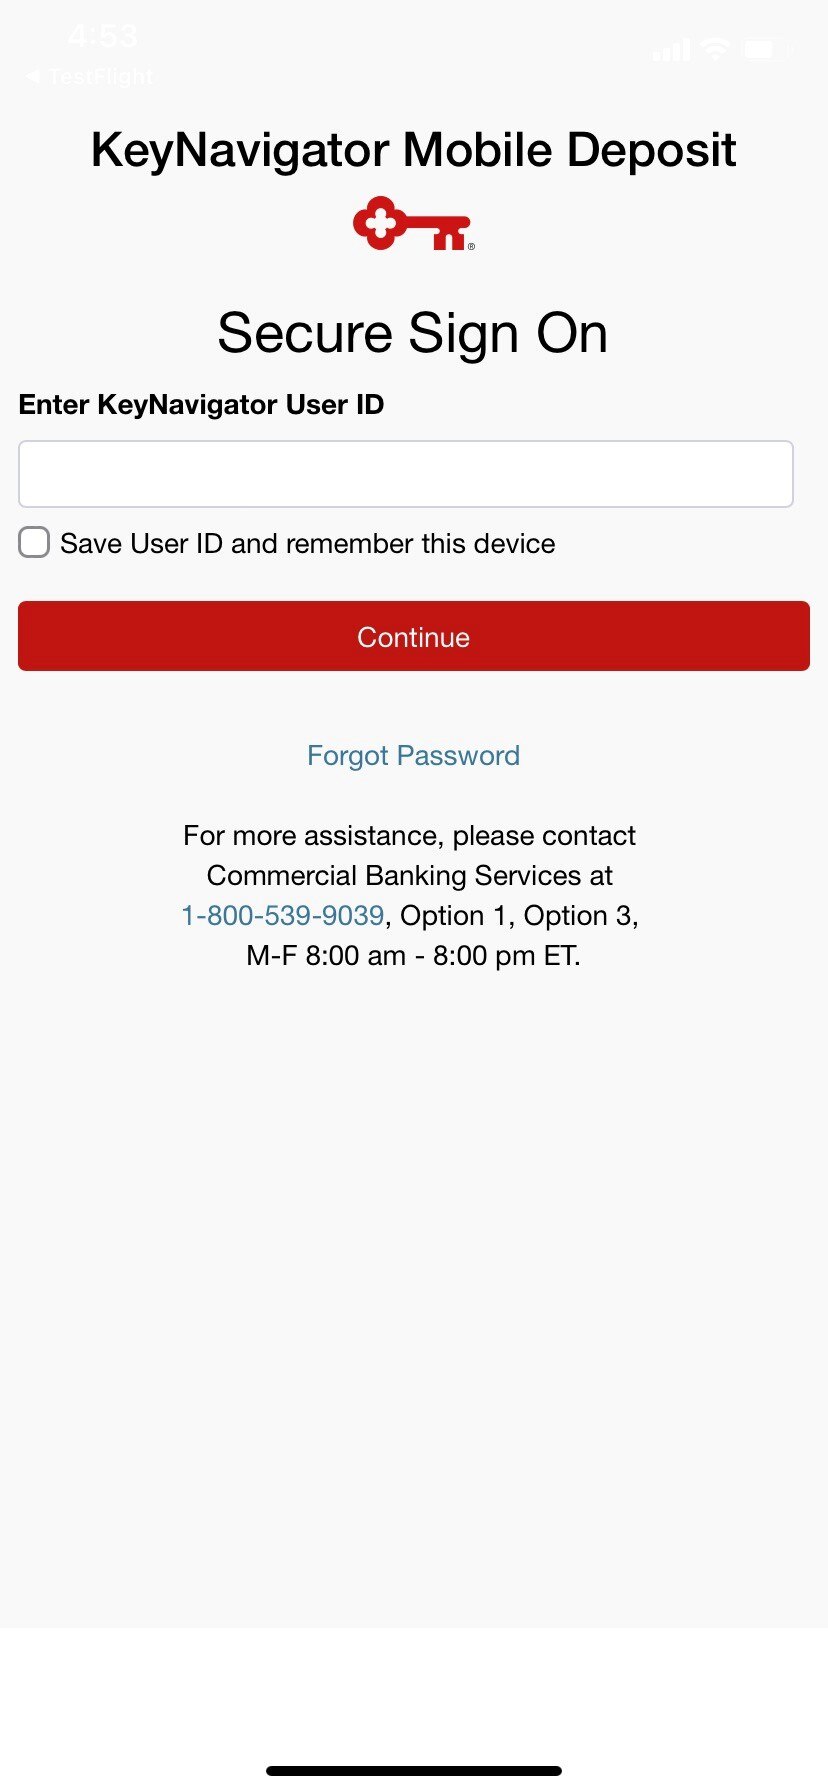
Secure Log In
Use your KeyNavigator username and password to log in.

Secure Log In
If you need to reset your password, you must input your username then click the Forgot Password link.
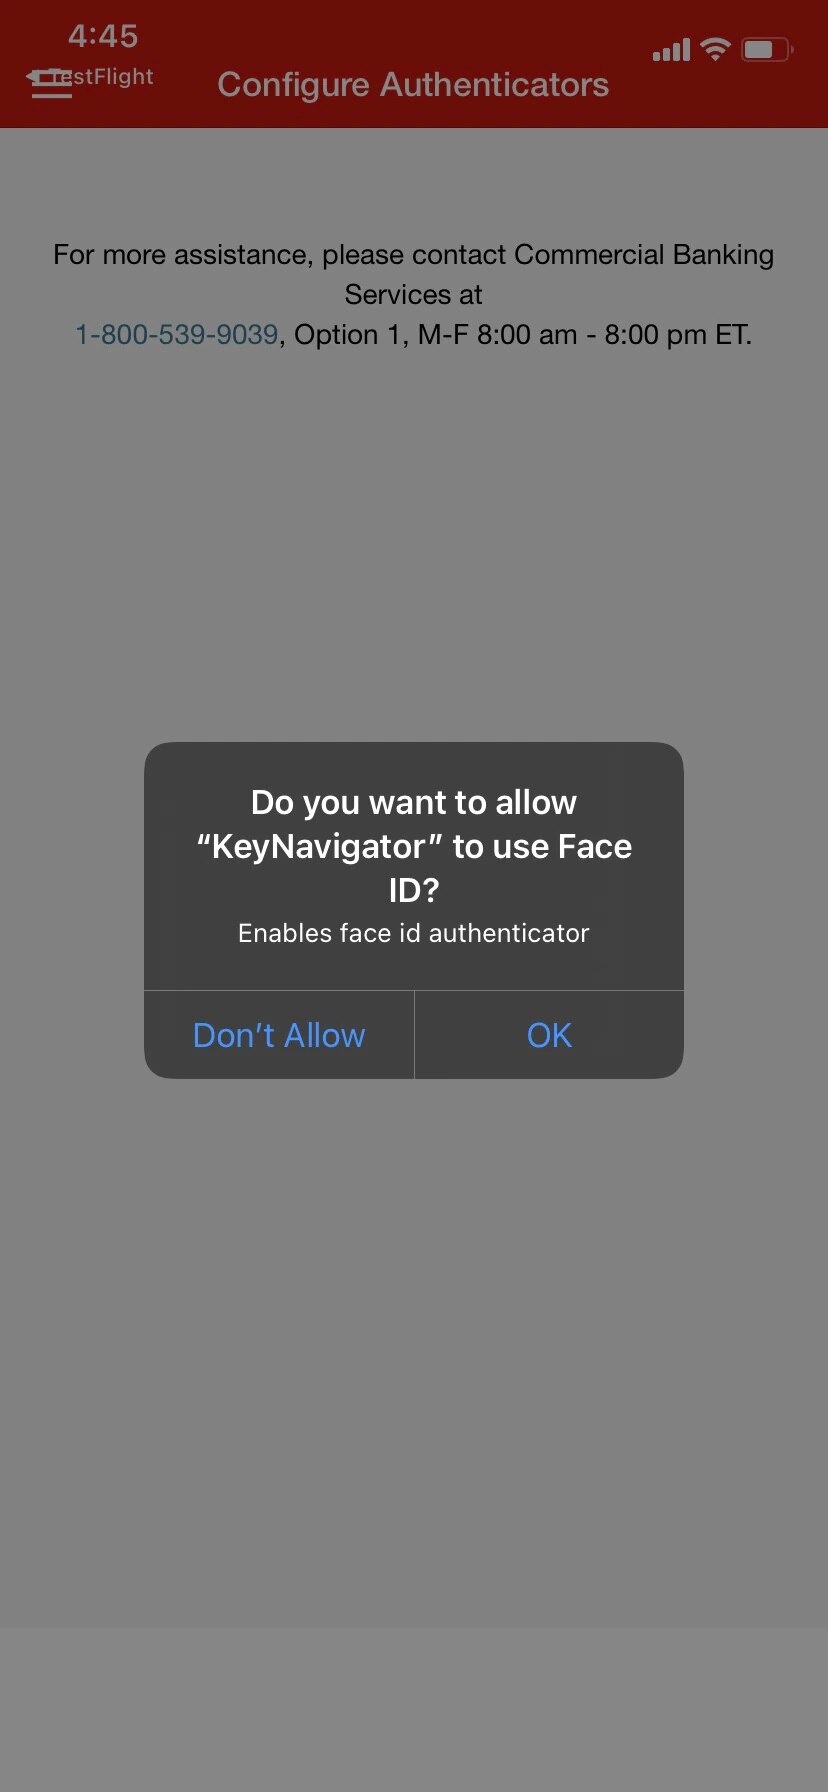
Configure Authenticators
Once logged into the app, users can enable device biometrics either facial or fingerprint recognition with the main navigation.
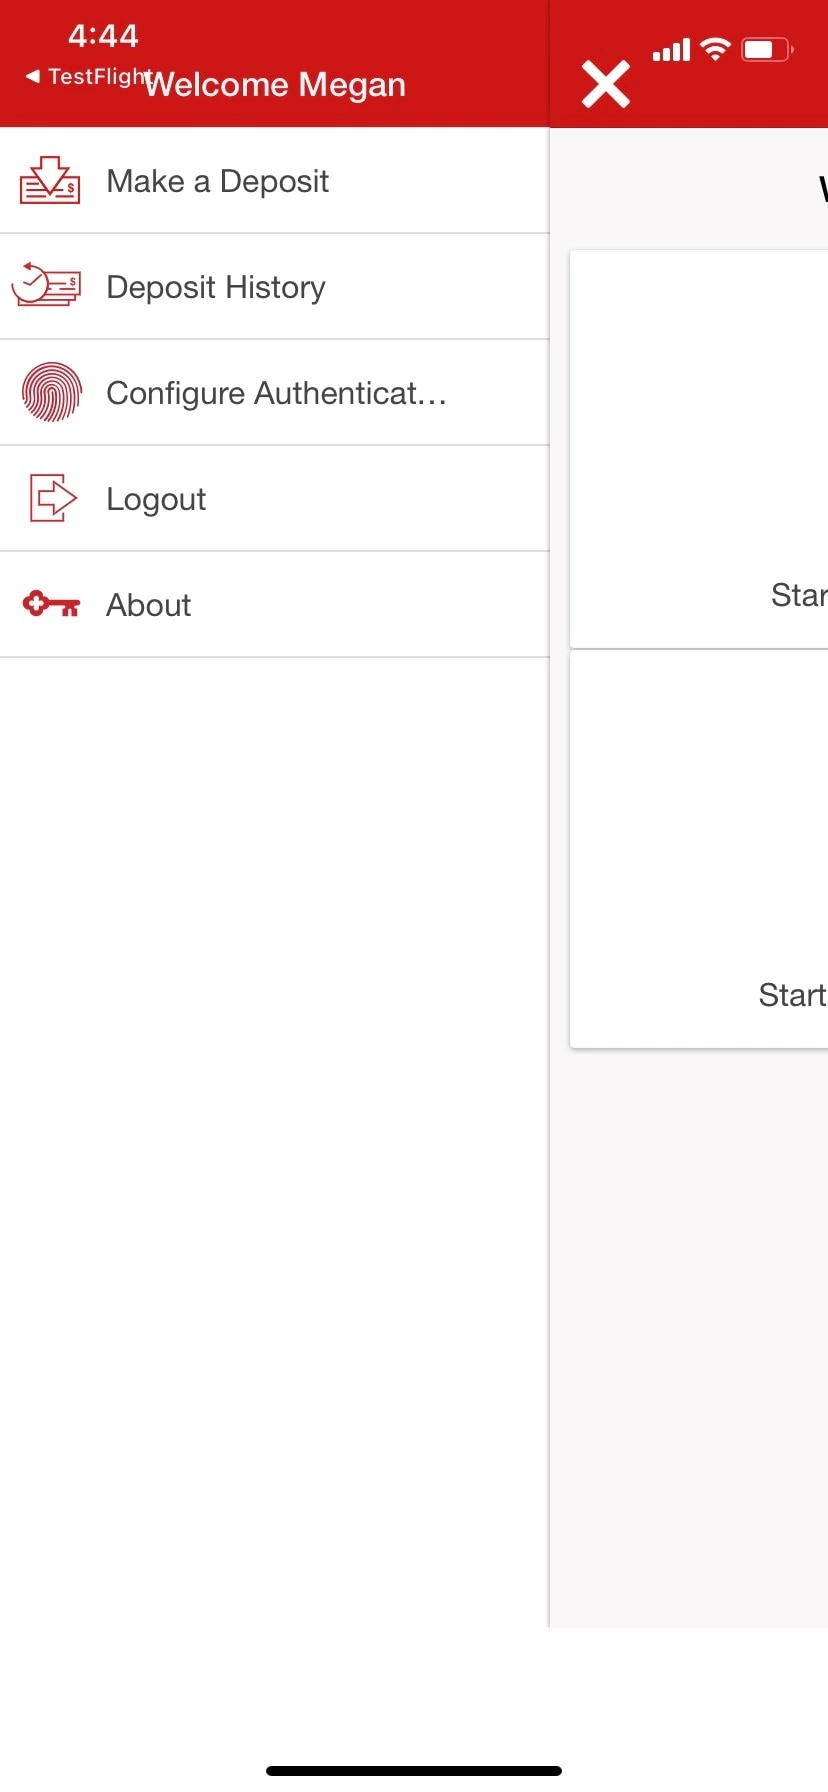
Navigation Menu
From the navigation menu, you can start a deposit, review deposit history, enable Touch ID, and log out.
Make a Deposit
The Make a Deposit feature allows a company's entitled users to deposit checks anytime, anywhere, using their smart phone. This page contains instructions for helping KeyNavigator© users deposit checks via the mobile app.

Single or Multiple Checks
Select Start Single Check Deposit to deposit one single check. Select Start Multiple Check Deposit to deposit more than one check in a deposit.

Select an Account
Select which account to deposit into.

Deposit Amount
Enter the total deposit amount. If using multiple check option, enter the collective amount of all checks for the total deposit amount.

Capture Check
Enter a memo if desired.

Capture Check
Select Capture Check Front and hold phone over the front of the check.

Capture Check
Once the image is successfully captured, select Capture Check Back and hold phone over the back of the check.

Capture Check
If utilizing the multiple check option, an Scan Another Check button will become available.

Capture Check
When finished, select the Submit Check button.

Check Deposit Complete
A confirmation screen will demonstrate that check deposit was complete. If using a deposit review, the check deposit status will be 'pending review'.
Deposit History
The Deposit History feature allows a company's entitled users to view the completed deposits that they have made themselves as well as to approve or reject deposits if the company utilizes deposit review.

Deposit History
The Deposit History will display the list of deposits for the last 30 days or last 25 deposits − whichever comes first.

Deposit History
Deposits are displayed newest to oldest.

Deposit History
Select the deposit to view additional deposit detail.

History Detail
The History Detail page will show additional detail about the deposit.

History Detail
If your company uses deposit review, deposit status could show as "Pending."

History Detail
Select the check to view an image of the item deposited.

Pending Review
If your company utilizes a deposit review, deposits that need to be approved will be listed on the 'pending' tab. Note the 'pending tab' is highlighted.

Pending Review
Select the check to view more detail.

Pending Review
To approve select Complete.

Pending Review
To reject and return back to the original depositor for correction, select Reject.

Pending Review
To forgo decisioning the item, select Release for the item to be available for someone else to approve.

Rejected Item
Checks rejected by the reviewer are noted in the 'rejected' tab.

Rejected Item
Select the check to correct the deposit.

Correct Deposit
Select Add Check to add an additional check.

Correct Deposit
Select Edit to edit the amount of a check or delete a check.

Correct Deposit
When done, swipe to complete the deposit.
Touch ID
Touch ID allows apple users the ability to sign into the application using their fingerprint instead of the Username and Password.

Enable Touch ID
iOS users can enable Touch ID for a quicker login option. To enable Touch ID login, select Touch ID from the navigation menu.

Enable Touch ID
On this screen select Enable Touch ID. If you don't have Touch ID setup on your device yet, you will be asked to do so first.

Disable Touch ID
After enabling Touch ID, the page will now demonstrate Touch ID as enabled. To disable Touch ID, select Disable Touch ID.
